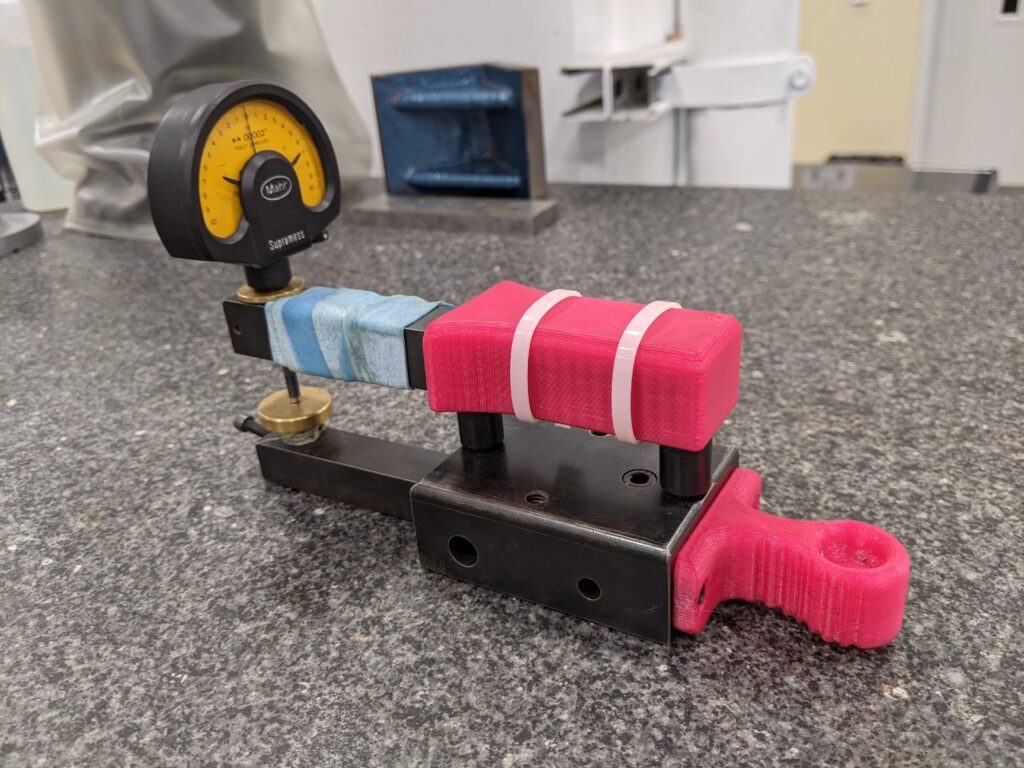
The Finished results

So after some playing around, I finally got it finished and operating. I added some parts, such as the 3d printed handles (I found the low handle helps keep the device steadier when pushing it across a table and provides for better readings. ) The 3d printed handles should also provide some thermal insulation so the heat from your hands does not unduly affect the results. (Does that really matter for the cases I’m using it with? Nah.) I also added a rubber band around the top arm as it seemed to limit some vibrations, and again provided for better, quicker, more consistent readings.

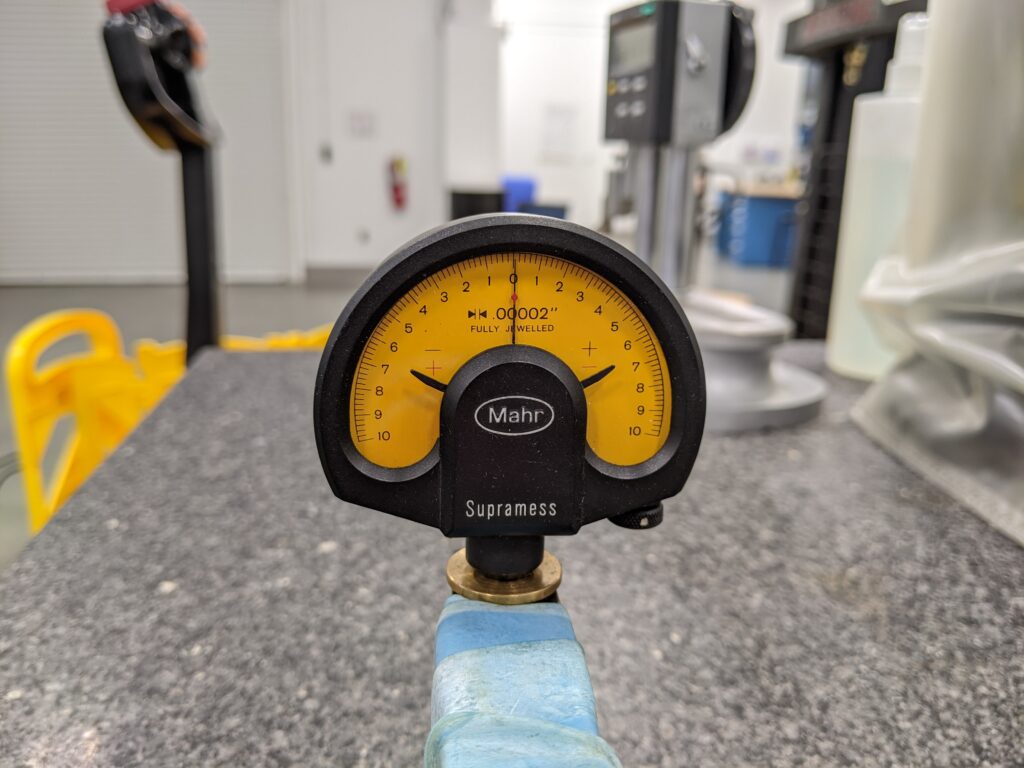
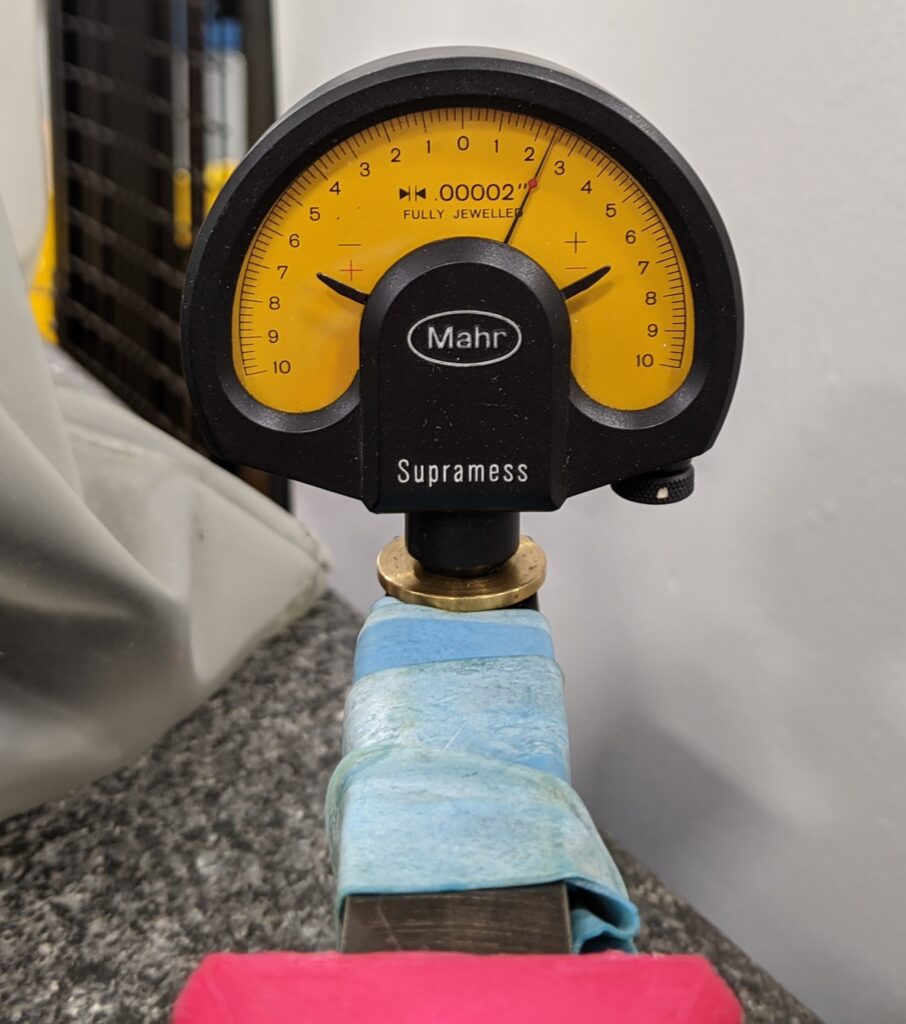
I found that after installing the Supramess Comparator (which reads 0.00002″), and zeroing it out, and locking down the fine height adjustment, the repeat-o-meter actually worked! Surprisingly well actually. When moved on a typical granite kitchen counter top, the dial indicator would jump between -5 and +5 (a swing of 0.001″) with regular outliers pegging the needle. When compared to a 36″ x 24″ surface plate, the movement is generally less than a swing of 0.0002″. While I cannot self-calibrate the repeating instrument, and thus it’s not something that I would use for lab grade metrology, for my purposes, it’ll work.
So How Flat is it?
That’s a lot of work just to get an idea about how flat my tiny, cheap, import surface plate is. So how flat is it? The answer, not too bad. For the most part, the surface plate is within 0.000060″ (60 millionths, or 60 microinches, ~1.5 microns) total indicator movement. However, there are two corners where the indicator drops to 0.0001″. This isn’t too surprising, as this is just at the very edge of the plate (less than 1 inch from the edge in both cases.) If you’ve ever done any lapping, it’s quite easy to roll an edge if you’re not careful. I’m assuming that this is what happened to this plate. If I ignored the corners, the repeatability is within the 60 millionths range and I would say that in terms of repeatability, this is a Grade A surface plate. Pretty decent as it was sold as a Less than B Grade plate. (Sold as +-0.0001″, that may be a marketing error, as a Grade B would be half that.)
I have access to a number of granite surface plates, and as such I’ve used this to test them. The relatively new surface plates have shown very consistent results, and even a well used plate is still well within Grade A repeatability measurements, with the exception of a ~6 inch diameter spot, now on the back of the plate where it was reading quite high and had a very rough surface finish. (this plate has had a rough life, and has been repaired a few times.)

All in all, I’m quite happy with my DIY Repeat-O-Meter and my really cheap surface plate. Neither are perfect, but they’ll work for the purposes that I use them for. And it helped me think more about how we measure flatness and answered my curiosity about how flat my surface plate actually was, which has helped down the road as I continue to think and work on making things flat.
Next Up: Let’s take a closer look at some things we’ve conveniently skipped over.
